The Route From Dalton’s Dinos to the Surface
Complete The Attraction, The Digsite, The Fall and The Lair in order, then recover the crew lift key to escape with DJ. The route below follows the required repairs, keys and chases through to the surface ladder.
The Attraction: Open the Exhibits
- Use the payphone near the entrance before heading inside Dalton’s Dinos to begin your search for help.
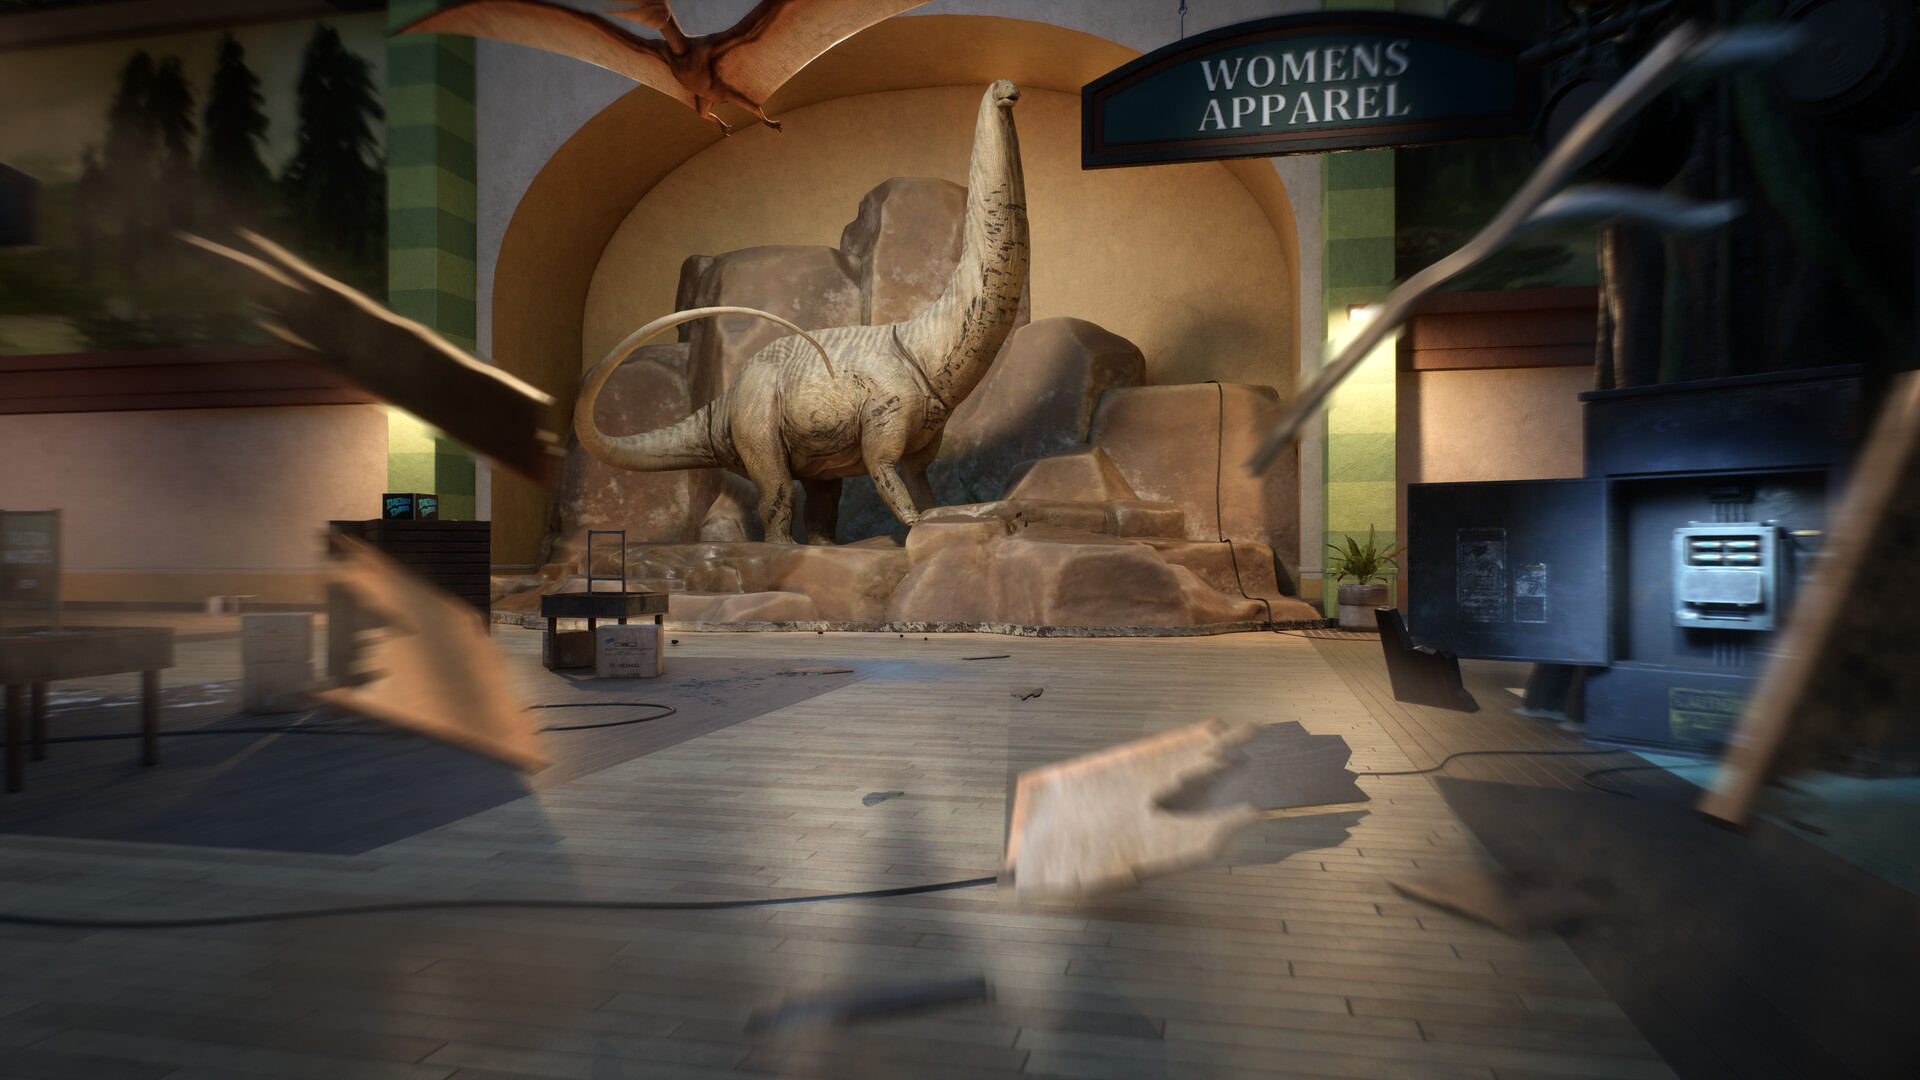
- Collect the torn paper halves from the Allosaurus fossil’s hand on the left and the Brontosaurus fossil’s base on the right to assemble the reception clue.
- Enter your assembled paper’s code at the employees-only keypad to reach the box office. Read your own clue rather than copying a reception code.
- Spend the token from the box-office counter at the theater entrance to reach the pre-show.
- Install the upstairs table’s fuse beside the video player to restore power; reach its room through No Entry, over the cage and up the stairs.
- Restart the pre-show using the video-player switch to unlock the theater’s left-hand gate into the exhibits.
- Cross the elevated route over the dinosaur display, crates and platforms to reach the security terminal.
- Activate the three elevated switches using the dinosaur’s body, the branches behind the stage balcony, and the climb beside the security room.
- Pull the security-room lever after restoring power to open the gate into the next part of the attraction.
Pick up the headset beside the radio before leaving so you can stay in contact with Stella.Playing this video connects to YouTube.
The Attraction: Get Through the Gift Shop
- Cross the electrified floor using platforms and yellow pipes to reach the climbing pillars without touching the ground.
- Exchange the token from the upper pillar route for the flashlight to continue through the dark Dilo Dash attraction.
- Ride a moving dinosaur dummy above the blocked exit to reach the boxes holding the missing exhibit button.
- Activate the meteor console with the replacement button to expose the timed opening into the backstage route.
- Race up the pillars and platforms, then slide beneath the pipes into the opening to get backstage.
- Follow the ladder, yellow pipes and vent passage into the gift shop to reach the office containing Dalton’s VHS tape.
- Speak with Stella after watching the office VHS to continue toward the basement entrance.
- Collect the three basement fuses beyond keypad code 1903: straight ahead, farther back and left, then beyond another left turn.
- Install the fuses in the pillars beside the office, toys and arcade, creating distance from the pursuing mascot before each repair.
- Take the arcade vent to the elevated route above the fuse pillars, where the high levers become your next objective.
- Pull the levers above the three fuse pillars to unlock the onward path and reach the vent returning to the office.
- Switch on the floodlights at the fuse boxes while the Bronto roams the shop to finish the lighting objective.
- Turn away from the exit when the Bronto destroys it, then run deeper through the basement platforms to reach the caverns.
The Digsite: Restore Power and Find the Keys
- Activate the generator beyond the timed auxiliary doors by following its cable through the crates and gaps, then return to base.
- Activate the other generator beyond the crawlspace and lift, crossing the pillars before returning through the same hole.
Enter 0451 at the foreman tower’s office keypad to reach the controls for the main gate.Playing this video connects to YouTube.
- Press the office’s red button to open the main gate and continue into the deeper caverns.
- Escape the returning Bronto by turning around and sprinting along the right-hand path through the platforming section.
- Salvage parts from the working keypad beyond the hanging platforms, railing and metal climbing structures to repair the bunker entrance.
- Enter 0978 at the repaired bunker keypad to continue through the balancing passages toward the next power objective.
- Activate the three sub-switches along the elevated route beginning at the right-hand ladder to advance the power objective.
- Activate the three kill switches while the Bronto hunts you to open the escape through the tunnel and narrow passage.
- Climb beyond the timed auxiliary door to reach the lift landing and Stella’s next call.
- Enter 1677 beside the lift to access the ledges descending around the elevator shaft.
- Install the fuse from the table right of the elevator’s fuse box to complete the repair.
- Continue through the crate platforms and office’s timed door to reach the later padlocked gate.
- Retrieve the padlock key inside the gondola, picking it up again after the cutscene so you can return to the gate.
- Unlock the padlocked gate to continue until the Bronto forces another retreat along the right-hand route.
- Blast the cavern wall using dynamite from the safe-house locker, unlocked with 0180; follow the red wire to the detonator.
- Place four dynamite charges around the structure during the hunt; three are in the outer tunnels and another is behind the structure under lights.
- Use the detonator under those lights after placing the charges to trigger the explosion ending The Digsite.
The Fall: Cross the Mines and Survive the Hunts
Reposition the mining equipment to create your onward route through the deep sites and into the goo-bounce sections.Playing this video connects to YouTube.
- Press the train button to reveal the bouncy goo beneath its front section and cross to the other side.
Restore power to the mining console to progress through the train-site controls and equipment.Playing this video connects to YouTube.
Blast through the metal door with dynamite to reach the route followed by the power cable.Playing this video connects to YouTube.
Activate the train-cart control panel to complete the machinery objective before continuing through the mine.Playing this video connects to YouTube.
- Escape the Allosaurus encounters through the wooden-floor fall, arrow-led passage and small hole that breaks the pursuit.
- Continue beyond the flooding chase using bouncy goo and wallrunning to cross the caverns and hanging wall.
- Retrieve the key in the building beside the small locked gate to pass the freight-gate obstacle.
Attempt the winch lift toward the surface, then continue through the caves after that escape attempt is interrupted.Playing this video connects to YouTube.
Complete the four-fuse power objective during the Allosaurus hunt to continue through the caverns.Playing this video connects to YouTube.
Release the mine cart from the foreman tower to continue toward Motherlode and the transition into The Lair.Playing this video connects to YouTube.
The Lair: Recover the Crew Lift Key
Retrieve DJ’s Allosaurus tooth fossil from Dennis’s lair so he has the keepsake he refuses to leave behind.Playing this video connects to YouTube.
- Restore the camp’s lighting after reaching it with DJ to complete the power requirement near the crew lift.
- Collect the dynamite in Cavern A to prepare the blocked route toward Cavern B and the lift key.
Blast open the route into Cavern B with that dynamite to begin the climb toward the key.Playing this video connects to YouTube.
- Climb Cavern B’s spires and high route to retrieve the crew lift key beside the body.
- Escape the chase after collecting the key to reach the cliffside encounter on the return route.
- Kick the dinosaur off the cliff to continue returning toward DJ and the crew lift.
- Activate and board the crew lift after returning with the key to begin the final escape.
Wallrun back to the moving lift when the Hybrid knocks Jordan off, keeping the lift as your destination.Playing this video connects to YouTube.
- Follow DJ through the final cave after the lift sequence to reach the last climb.
- Climb the surface ladder to finish the escape from the caverns.