Restore power, then follow the cavern escape route
Activate both side-cavern generators, then use the red control in the foreman tower to open the main gate. The route onward takes you through the broken keypad, switch encounters, elevator shaft and gondola key before the final dynamite detonation ends the chapter.
Activate both side-cavern generators
- After Jordan’s call to Stella, head left over the crates to reach the timed-door button.
- Press the button to open the door on your right temporarily.
- Run through the open door and follow the generator cable to the next auxiliary-door button.
- Press the auxiliary-door button to open the next timed passage.
- Cross the crates and gaps quickly to reach the doorway before it closes and access the generator.
- Turn on the generator to restore its part of the digsite power.
- Follow the cavern path, drop down and turn right to reach the return-door button.
- Press the return-door button to reopen your way back to base.
- Follow the cable ahead and slightly right through the small crawlspace to enter the other generator route.
- Use this side cavern’s red timed-door button to open the way through its climbing route.
- Ride the lift to reach the higher platforms in this cavern.
- Cross the platforms and pillars to the right to reach the generator.
- Activate this generator to complete the pair needed for the main gate.
- Return through the same crawlspace to reach the central digsite again.
Open the foreman tower and main gate
- Turn left after leaving the crawlspace and climb the wooden stairs to the foreman tower.
- Enter 0451 at the tower keypad to unlock the office.
- Press the large red control inside to open the main gate back in the digsite.
- Collect the camera from the table opposite the red button before leaving the office.
- Follow the platforms beyond the main gate, including the shelf of crates, to continue deeper through the caverns.
- When Bronto appears, turn around and sprint along the path on your right to escape the chase.
Replace the broken bunker keypad
- Hang from the platform after the chase to lower it into a usable position.
- Follow the route to the inactive lift, then head left to find the bunker door and damaged keypad.
- Read the monitor labeled Today’s Door Code so you have the displayed code ready for the replacement panel.
- Lower the hanging platforms beside the rocks to create a climbing route onto the railing.
- Follow the railing until it breaks, then climb the metal structures on your right to reach the upper route.
- Drop down on the right at the top to reach the remote red control.
- Press the red control to partially open a different metal door.
- Follow the path beyond the control and drop down at the end to reach the working keypad near that gate.
- Salvage the working keypad to obtain the replacement parts for the damaged panel.
- Return to the original bunker door to bring the replacement parts back to the broken keypad.
- Install the replacement parts to make the bunker keypad usable.
- Enter the code shown on Today’s Door Code to open the bunker gate and continue.
Operate the sub-switches and clear the flooded exit
- Continue through the cavern platforming and narrow balancing passages to reach the next switch objective.
- Take the ladder on the right and follow the ledges farther right to reach the first sub-switch.
- Activate the first sub-switch to begin powering the door controls.
- Jump left along the platforming route to reach the second sub-switch.
- Activate the second sub-switch to advance the door objective.
- Continue left to reach the final sub-switch in this set.
- Activate the final sub-switch to complete this set of door controls.
- Speak with Stella when Bronto returns to receive the emergency shutdown objective.
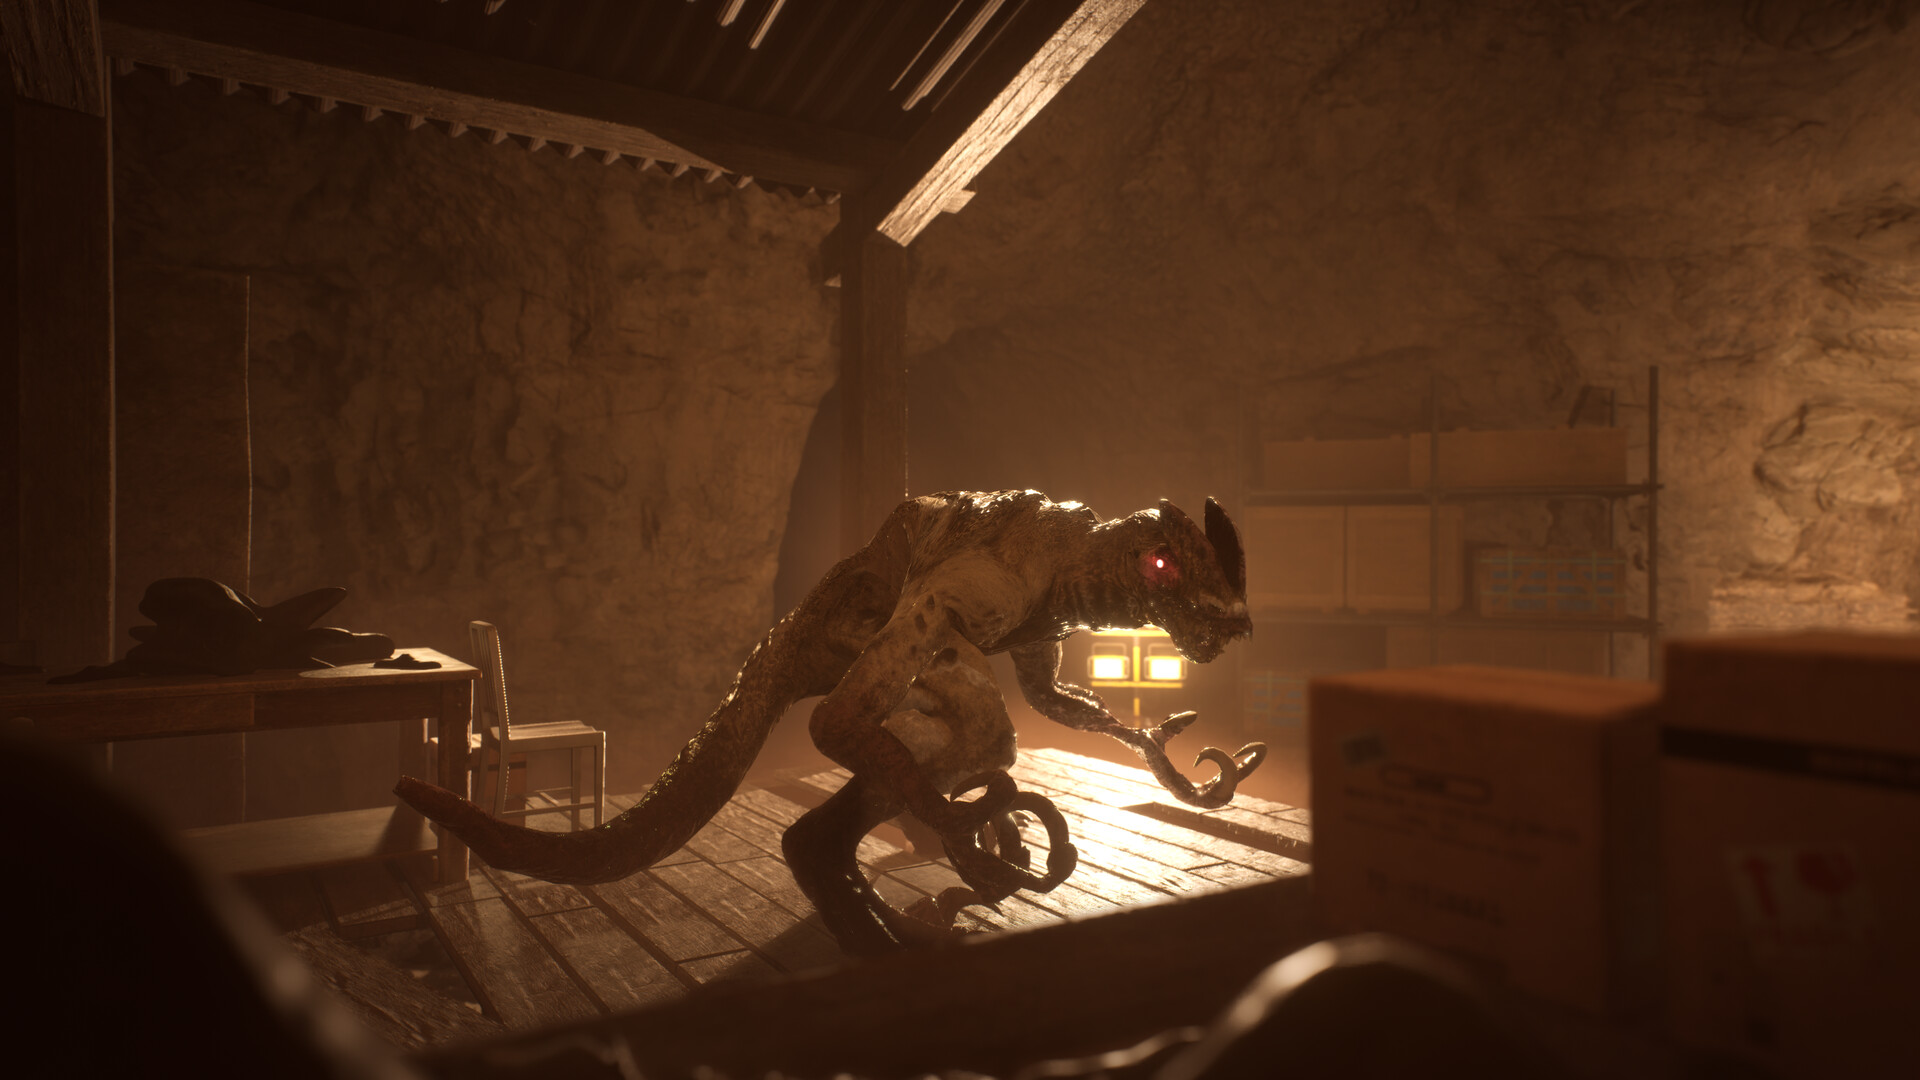
Operate all three emergency shutoffs on the ground level to clear the electrical hazard from the flooded exit.Playing this video connects to YouTube.
The sub-switches and emergency shutoffs are separate objectives. Finish the door controls first, then handle the shutdown task while Bronto is hunting you.
Reach the elevator shaft and restore its power
- Sprint through the tunnel on your right and into the narrow passage at its end to escape Bronto.
- Climb the rocks on your left after crawling out to reach the next platforming route.
- Press the red button after the platforming section to open the auxiliary door across the area.
- Use the ledges on your left to reach the auxiliary door before it closes.
- Follow the upward ledges through the climbing section to reach the elevator landing and Stella’s next call.
- Enter 1677 at the side-door keypad near the lift to access the descent route.
- Descend along the wooden ledges around the shaft until you reach the bottom.
- Collect the fuse from the table to the right of the lower fuse box.
- Install the fuse in the lower power box to restore power before operating the elevator controls.
- Follow the crate-and-platform route beyond the elevator area to reach the platform that breaks.
- Crawl beneath the broken platform to reach the other side.
- Press the auxiliary-door button in the later office to open the next timed passage.
- Cross the ledges outside the office before the door closes to continue toward the padlocked gate.
Retrieve the gondola key and unlock the padlock
- Climb the large rock in the middle of the area to reach the ledges above.
- Follow the ledges and descend toward the gondola on your right to reach the key.
- Jump inside the gondola to collect the padlock key and trigger the cutscene.
- Pick the key up again after the cutscene so you can take it back to the gate.
- Follow the onward ledges to return to the padlocked passage.
- Unlock the gate with the key to continue through the caverns.
- When Bronto hunts you again, turn back and follow the right-hand escape route to reach safety and Stella’s call.
Use the dynamite locker and finish the chapter
- After the call, enter 0180 at the safe-house keypad to access the dynamite locker.
- Collect the dynamite inside the locker to prepare the charge for the obstruction.
- Place the charge on the wall to the right after leaving the locker.
- Follow the red wire to reach the separate detonator.
- Use the detonator to blast open the route through the cavern.
- Run through the chase beyond the blast, keeping up with the jumps to reach the large structure.
- Collect three dynamite charges from the outer hallways while keeping your distance from Bronto.
- Collect the final charge behind the structure under the lights to complete the dynamite supply.
- Place all four charges at the red-light markers around the structure, using the red wires to find the attachment points.
- Activate the detonator under the lights where you found the final charge to trigger the chapter-ending cutscene.