Where to Find Amber
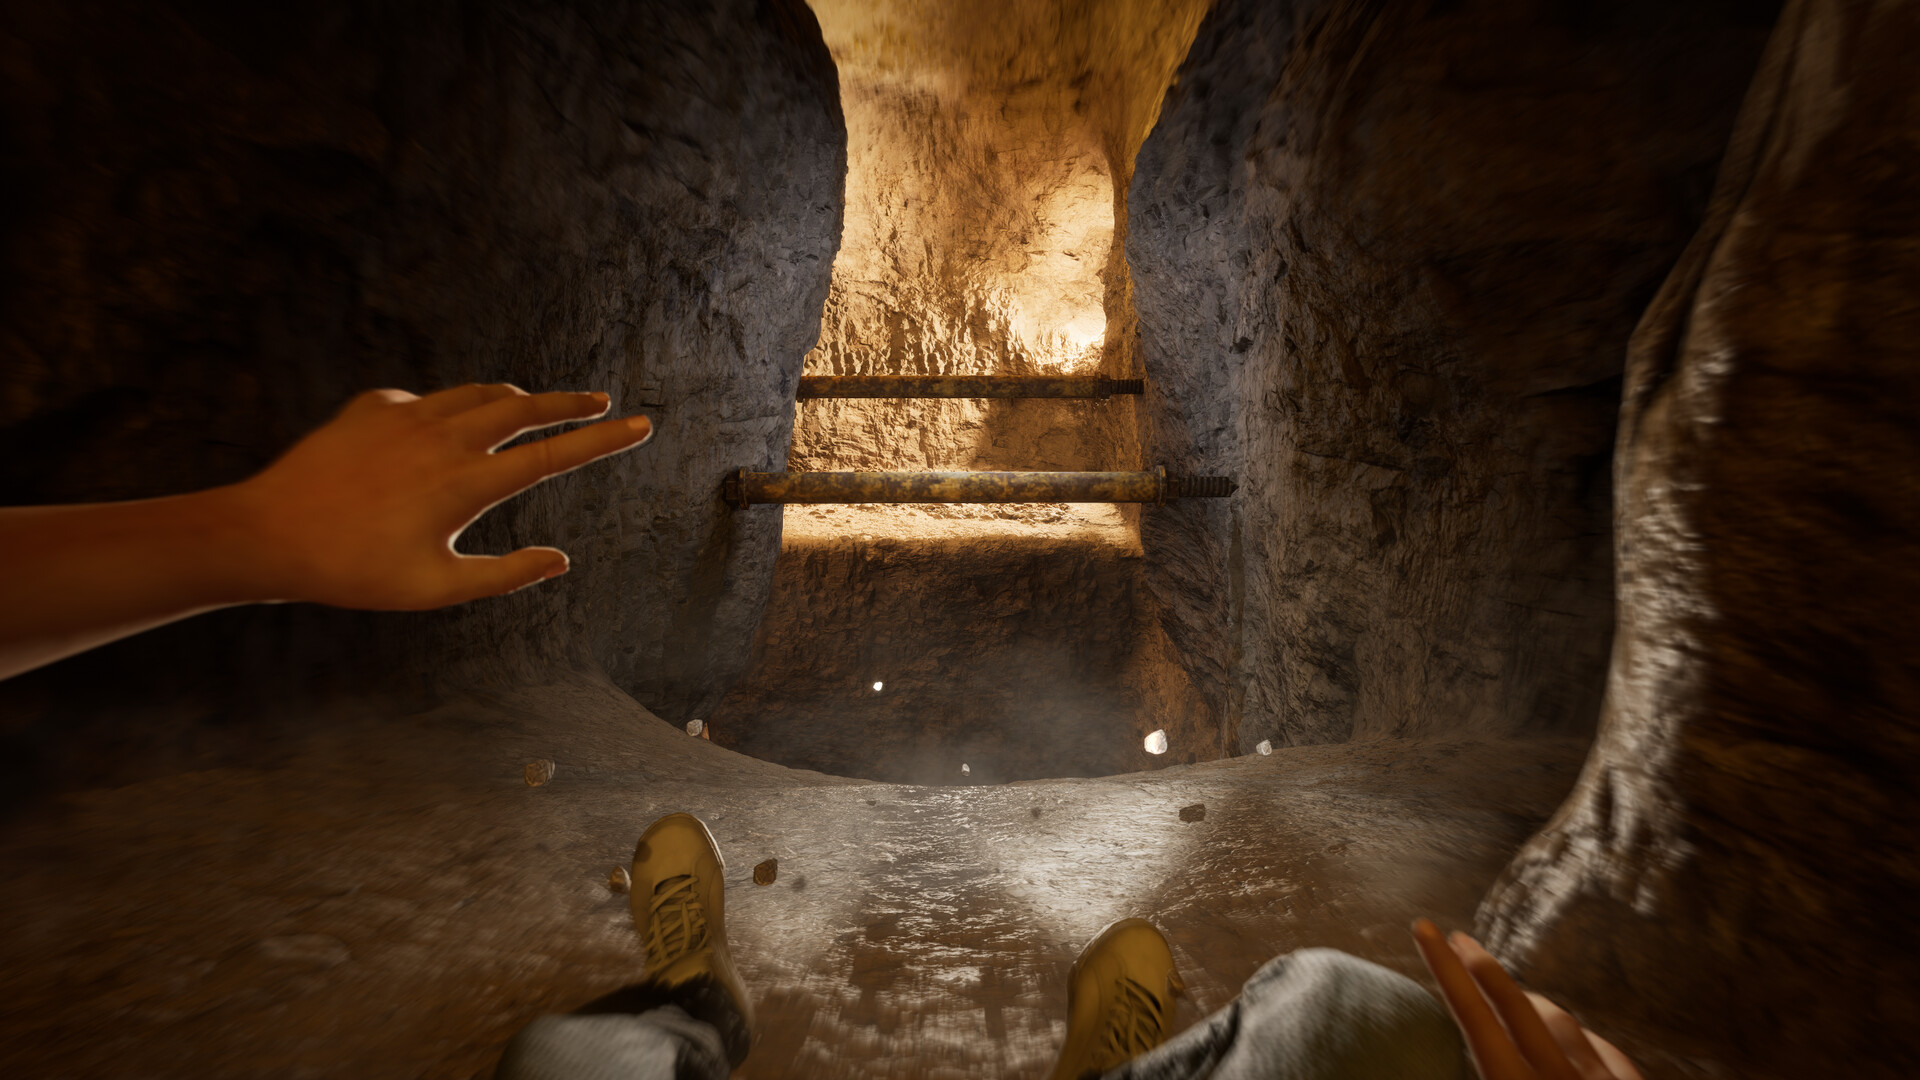
Find amber on museum displays, overhead structures and cavern detours throughout Terrible Lizards. There are 16 samples, with four in each chapter, and you can recover missed pickups through Level Select.
Amber Locations by Chapter
| Sample and chapter | Location |
|---|---|
| Chapter 1: Amber Specimen 01 | Top of the Brontosaurus skeleton in the entrance room. |
| Chapter 1: Amber Specimen 02 | Hanging metal beam above the first exhibition’s moving dinosaur displays. |
| Chapter 1: Amber Specimen 03 | Roof of the room where you exchange the flashlight token. |
| Chapter 1: Amber Specimen 04 | Circular platform above the gift-shop floor. |
| Chapter 2: Amber Specimen 05 | Top of the sign above the cave’s red-button platform. |
| Chapter 2: Amber Specimen 06 | Side cave hidden behind boxes beside the suspended metal path. |
| Chapter 2: Amber Specimen 07 | Small cave reached from wooden blocks beside the lift shaft. |
| Chapter 2: Amber Specimen 08 | Top of the metal structure anchoring the gondola cables. |
| Chapter 3: Amber Specimen 09 | Metal structure right of the tall building after Stella’s call. |
| Chapter 3: Amber Specimen 10 | Tunnel left of the last track in the train-cart area. |
| Chapter 3: Amber Specimen 11 | Roof of the red container near the building with the key. |
| Chapter 3: Amber Specimen 12 | Container beyond the wallrun outside the destroyed building. |
| Chapter 4: Amber Specimen 13 | Pillar in the path after the opening chase. |
| Chapter 4: Amber Specimen 14 | Hole on the left after the yellow swing poles. |
| Chapter 4: Amber Specimen 15 | Raised platform right of the pole behind the camp tent. |
| Chapter 4: Amber Specimen 16 | Right-hand detour before the glowing-plant passage in Cavern B. |
Chapter One: Museum Displays and Gift-Shop Heights
- Amber Specimen 01: In the first room of Dalton’s Dinos, use the Brontosaurus skeleton’s tail to climb onto the skeleton. Collect the sample on top before continuing through the attraction.
- Amber Specimen 02: In the first exhibition area, use the dinosaurs as ramps. Reach the second dinosaur’s head, wait for it to rotate into position, then jump onto the hanging metal beam holding the sample.
- Amber Specimen 03: Climb the trees used to reach the flashlight token. When you reach the upper path, turn around and jump onto the tree, then cross the hanging metal structures to the roof above the token booth.
- Amber Specimen 04: During the elevated gift-shop section with the large monster roaming below, take the left-hand detour to the circular platform. The main objective instead leads right toward the second plug.
Chapter Two: Cave Signs, Suspended Paths and the Gondola
- Amber Specimen 05: From the opening area, take the mining tunnel left of the office and descend the wooden ramp. Find the red-button platform beneath the sign, press the button and climb around the stone pillar behind it. Use the tree trunk to jump onto the sign.
- Amber Specimen 06: Lower the hanging metal platforms to reach the long suspended path. Turn left around the corner, jump right and follow the rising metal ramp. Near its top, drop onto the platform below and go to its left end. Look right, jump down to the other end of the original path and check the cave behind the boxes on your left.
- Amber Specimen 07: After speaking with Stella at the large lift shaft, open the coded door on the left and start descending. Pass the tilted wooden platform with barrels, then use the wooden blocks along the left wall to reach the small cave.
- Amber Specimen 08: At the gondola, locate the metal structure where its cables connect. Use the wooden box on the left to climb up, then walk along the structure to collect the amber.
Chapter Three: Train Tunnels and Container Roofs
- Amber Specimen 09: After following the dinosaur into the area where you speak with Stella, locate the tall building on the far side. Check the metal structure to the building’s right for the sample.
- Amber Specimen 10: In the area filled with train carts, jump across the tracks on your left. At the last track, look left into the tunnel to find the amber.
- Amber Specimen 11: In the area containing the building with the key, find the train tunnel and nearby tape. To the tape’s right, wallrun up the containers and hang from the suspended panel. Turn around and jump onto the red container’s roof.
- Amber Specimen 12: In the large underground area, find the destroyed building at the opposite end. From outside it, jump onto the containers and complete the wallrun. Jump to the container straight ahead to collect the sample.
Chapter Four: Camp Detours and Cavern B
- Amber Specimen 13: After the opening chase, continue past the note on the wooden planks to the pillar in the middle of the path. Jump from the platform on the left onto the pillar.
- Amber Specimen 14: After the camp reached following the chase, bounce over the red void and swing across the two yellow poles. As soon as you land, look down the hole on your left for the sample.
- Amber Specimen 15: Follow the outer edge of the camp’s central gated area anticlockwise to the first main-objective switch. Go behind the tent to its left, wallrun along the wall and jump to the pole. Swing onto the platform on the right.
- Amber Specimen 16: Climb through Cavern B’s goo-spire area and pass the metal tower. Wallrun across the two hanging planks. Before entering the thin passage with glowing plants on your left, check to the right for the amber.
Track Your Collection and Earn Bingo, Dino DNA
- On PC, press Tab to open the collectibles menu and check your amber progress. Use the specimen names above as a checklist while exploring each chapter.
- For missed samples, open Level Select from the main menu and return to the relevant level. Follow its route above to collect anything you skipped; amber samples are not missable.
- Collect all 16 amber samples to earn Bingo, Dino DNA. Use the chapter checklist to narrow down which route still needs another visit.
What Amber Unlocks
Beating the story unlocks New Game Plus. Its four modifiers are tied to amber collection, with a new modifier unlocking for every fourth sample you find.
When the Modifier Menu Disagrees With Your Collection
- I collected all 16 amber, so why does New Game Plus still say I don't have enough?
- A player has reported the same mismatch between collected amber and the New Game Plus modifier menu. Check that you have finished the story, since that unlocks New Game Plus; amber unlocks a modifier for every fourth sample. Compare the menu’s message with your collectibles menu before repeating a route.