Use the cavern route to escape the Hybrid
Escape the Hybrid by activating the counterweight’s red release, climbing the goo-assisted ascent and following the route through DJ’s location toward the crew-lift camp. Its later pursuit continues through the lift-key return and moving-elevator attack, ending in a scripted struggle after Jordan catches the lift again.
Keep your attention on the next traversal feature and the current objective. During a chase, leave optional exploration for a quieter stretch so you can concentrate on the escape route.
Where the Hybrid appears
The Hybrid is a Dilophosaurus-human creature. In Chapter 4, it pursues Jordan through the underground blue caverns, interrupts a projected presentation and attacks again around DJ. It also returns during the final crew-lift escape, so reaching the camp does not finish its pursuit.
Terrible Lizards gives you no usable weapons for fighting your pursuers. Movement and the environment provide the way forward, and the Hybrid’s conclusion is a scripted struggle rather than a conventional fight with a health bar.
Open the counterweight route and reach DJ
In the early blue-cavern chase, the counterweight’s red release opens the goo-assisted ascent. Beyond that ascent, hanging bars and ledges form the route to DJ and the requested Allosaurus tooth.
- Activate the counterweight’s red release to expose the goo-assisted ascent.
- Climb the goo-assisted ascent to continue along the escape route through the blue caverns.
- Traverse the hanging bars and ledges to reach DJ.
- Collect the Allosaurus tooth DJ requests to complete the errand along this part of the route.
Escape the projection room and reach camp
The Hybrid interrupts the projected presentation, and both guns attempted afterward jam. Continue the escape through the open cave, then return to DJ when directed.
- Escape through the open cave after the projection-room attack to continue beyond the jammed guns.
- Return to DJ when directed to resume the route toward the crew-lift camp.
- Follow the blue tunnels, goo walls, yellow bars and wooden platforms to reach the crew-lift camp.
Use those landmarks to keep yourself oriented as you move. Before committing to a jump or climb, identify the feature you are trying to reach so you have a clear destination.
Return the lift key and finish the escape
Taking the crew lift key from Cavern B leads into another chase, followed by a cliff confrontation and the return route to camp. The key matters because it is a failsafe: without it, the lift system cannot work.
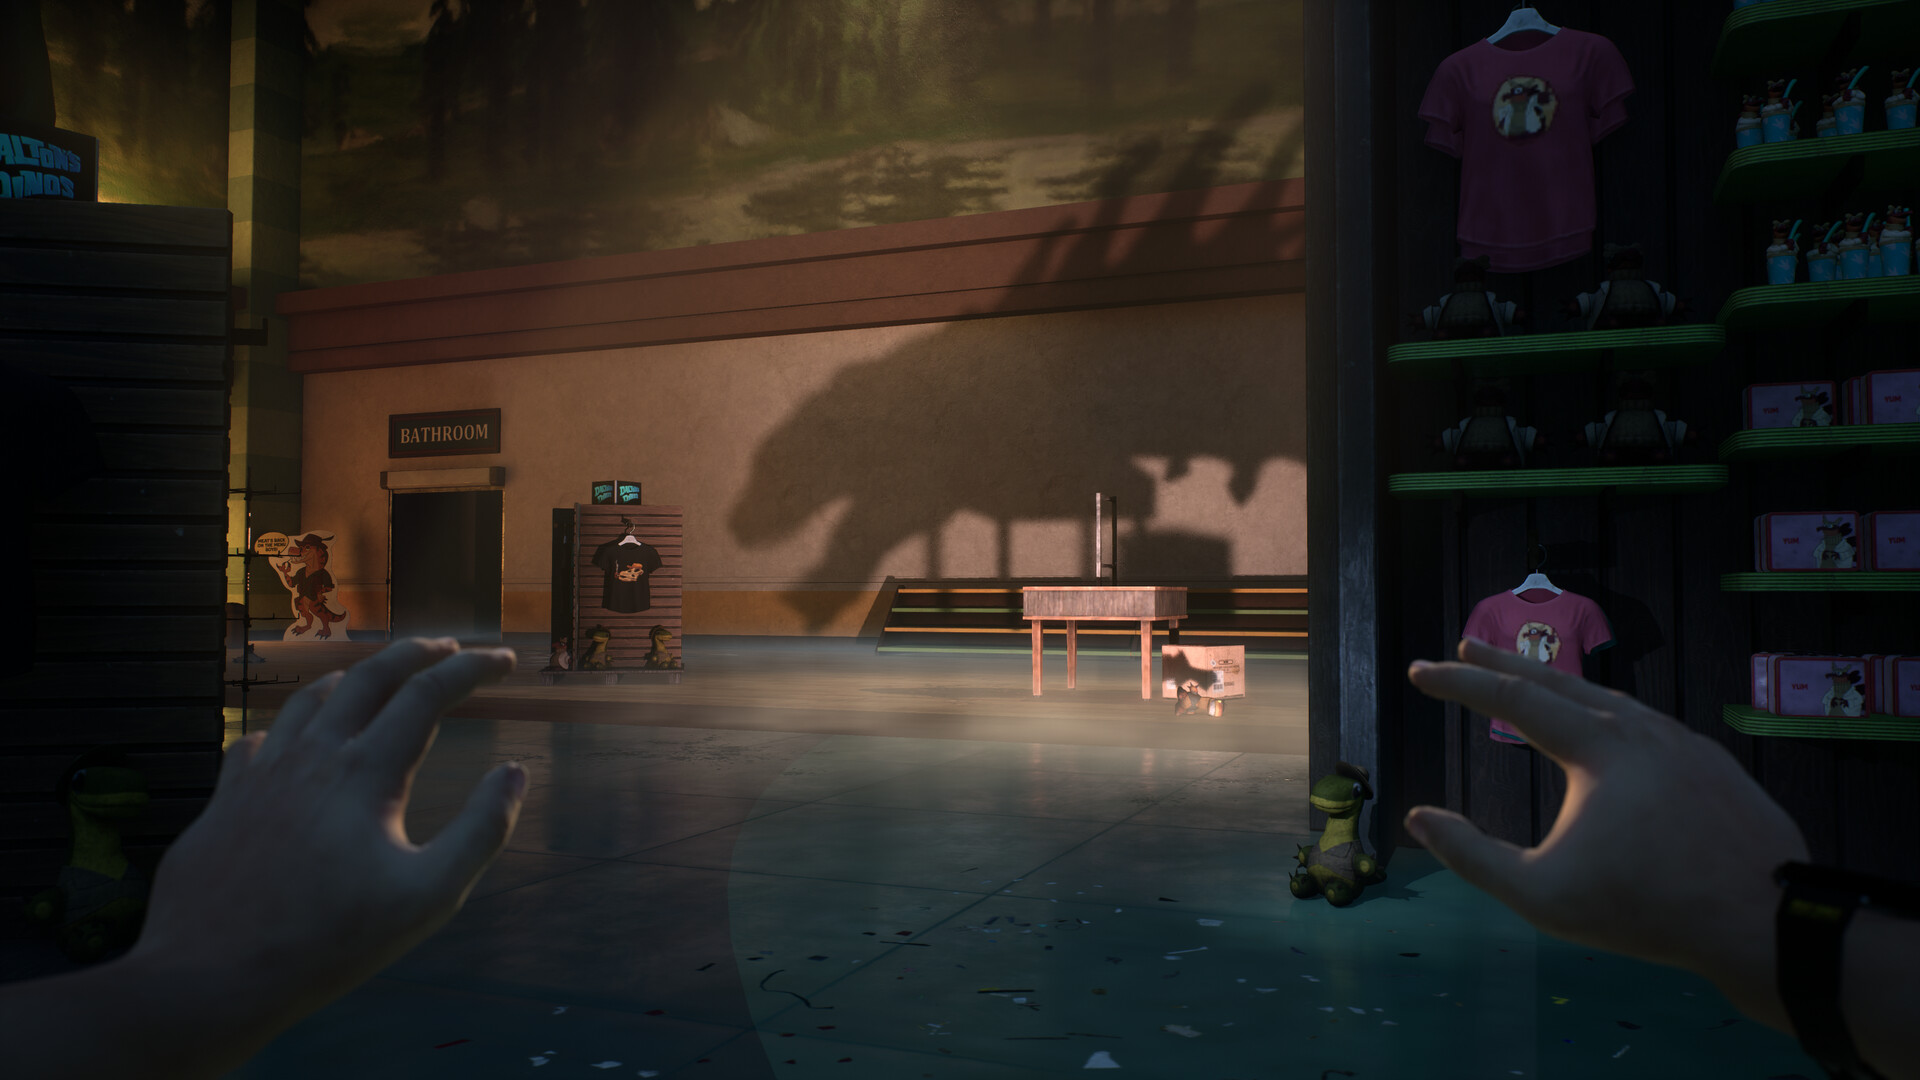
Pick up the crew lift key in Cavern B to begin the return stretch and its later chase.Playing this video connects to YouTube.
- Follow the return route after the cliff confrontation to get back toward camp.
Bring the key back to DJ at the lift to continue the escape.Playing this video connects to YouTube.
- Catch the lift again after the Hybrid attacks the moving elevator to reach the concluding scripted struggle.
The cliff confrontation does not end the Hybrid’s involvement: it subsequently attacks the moving elevator. Continue through that final escape sequence until Jordan catches the lift again and the scripted struggle plays out.